Background/Motivation
We have a ball-pit with a lot of balls.
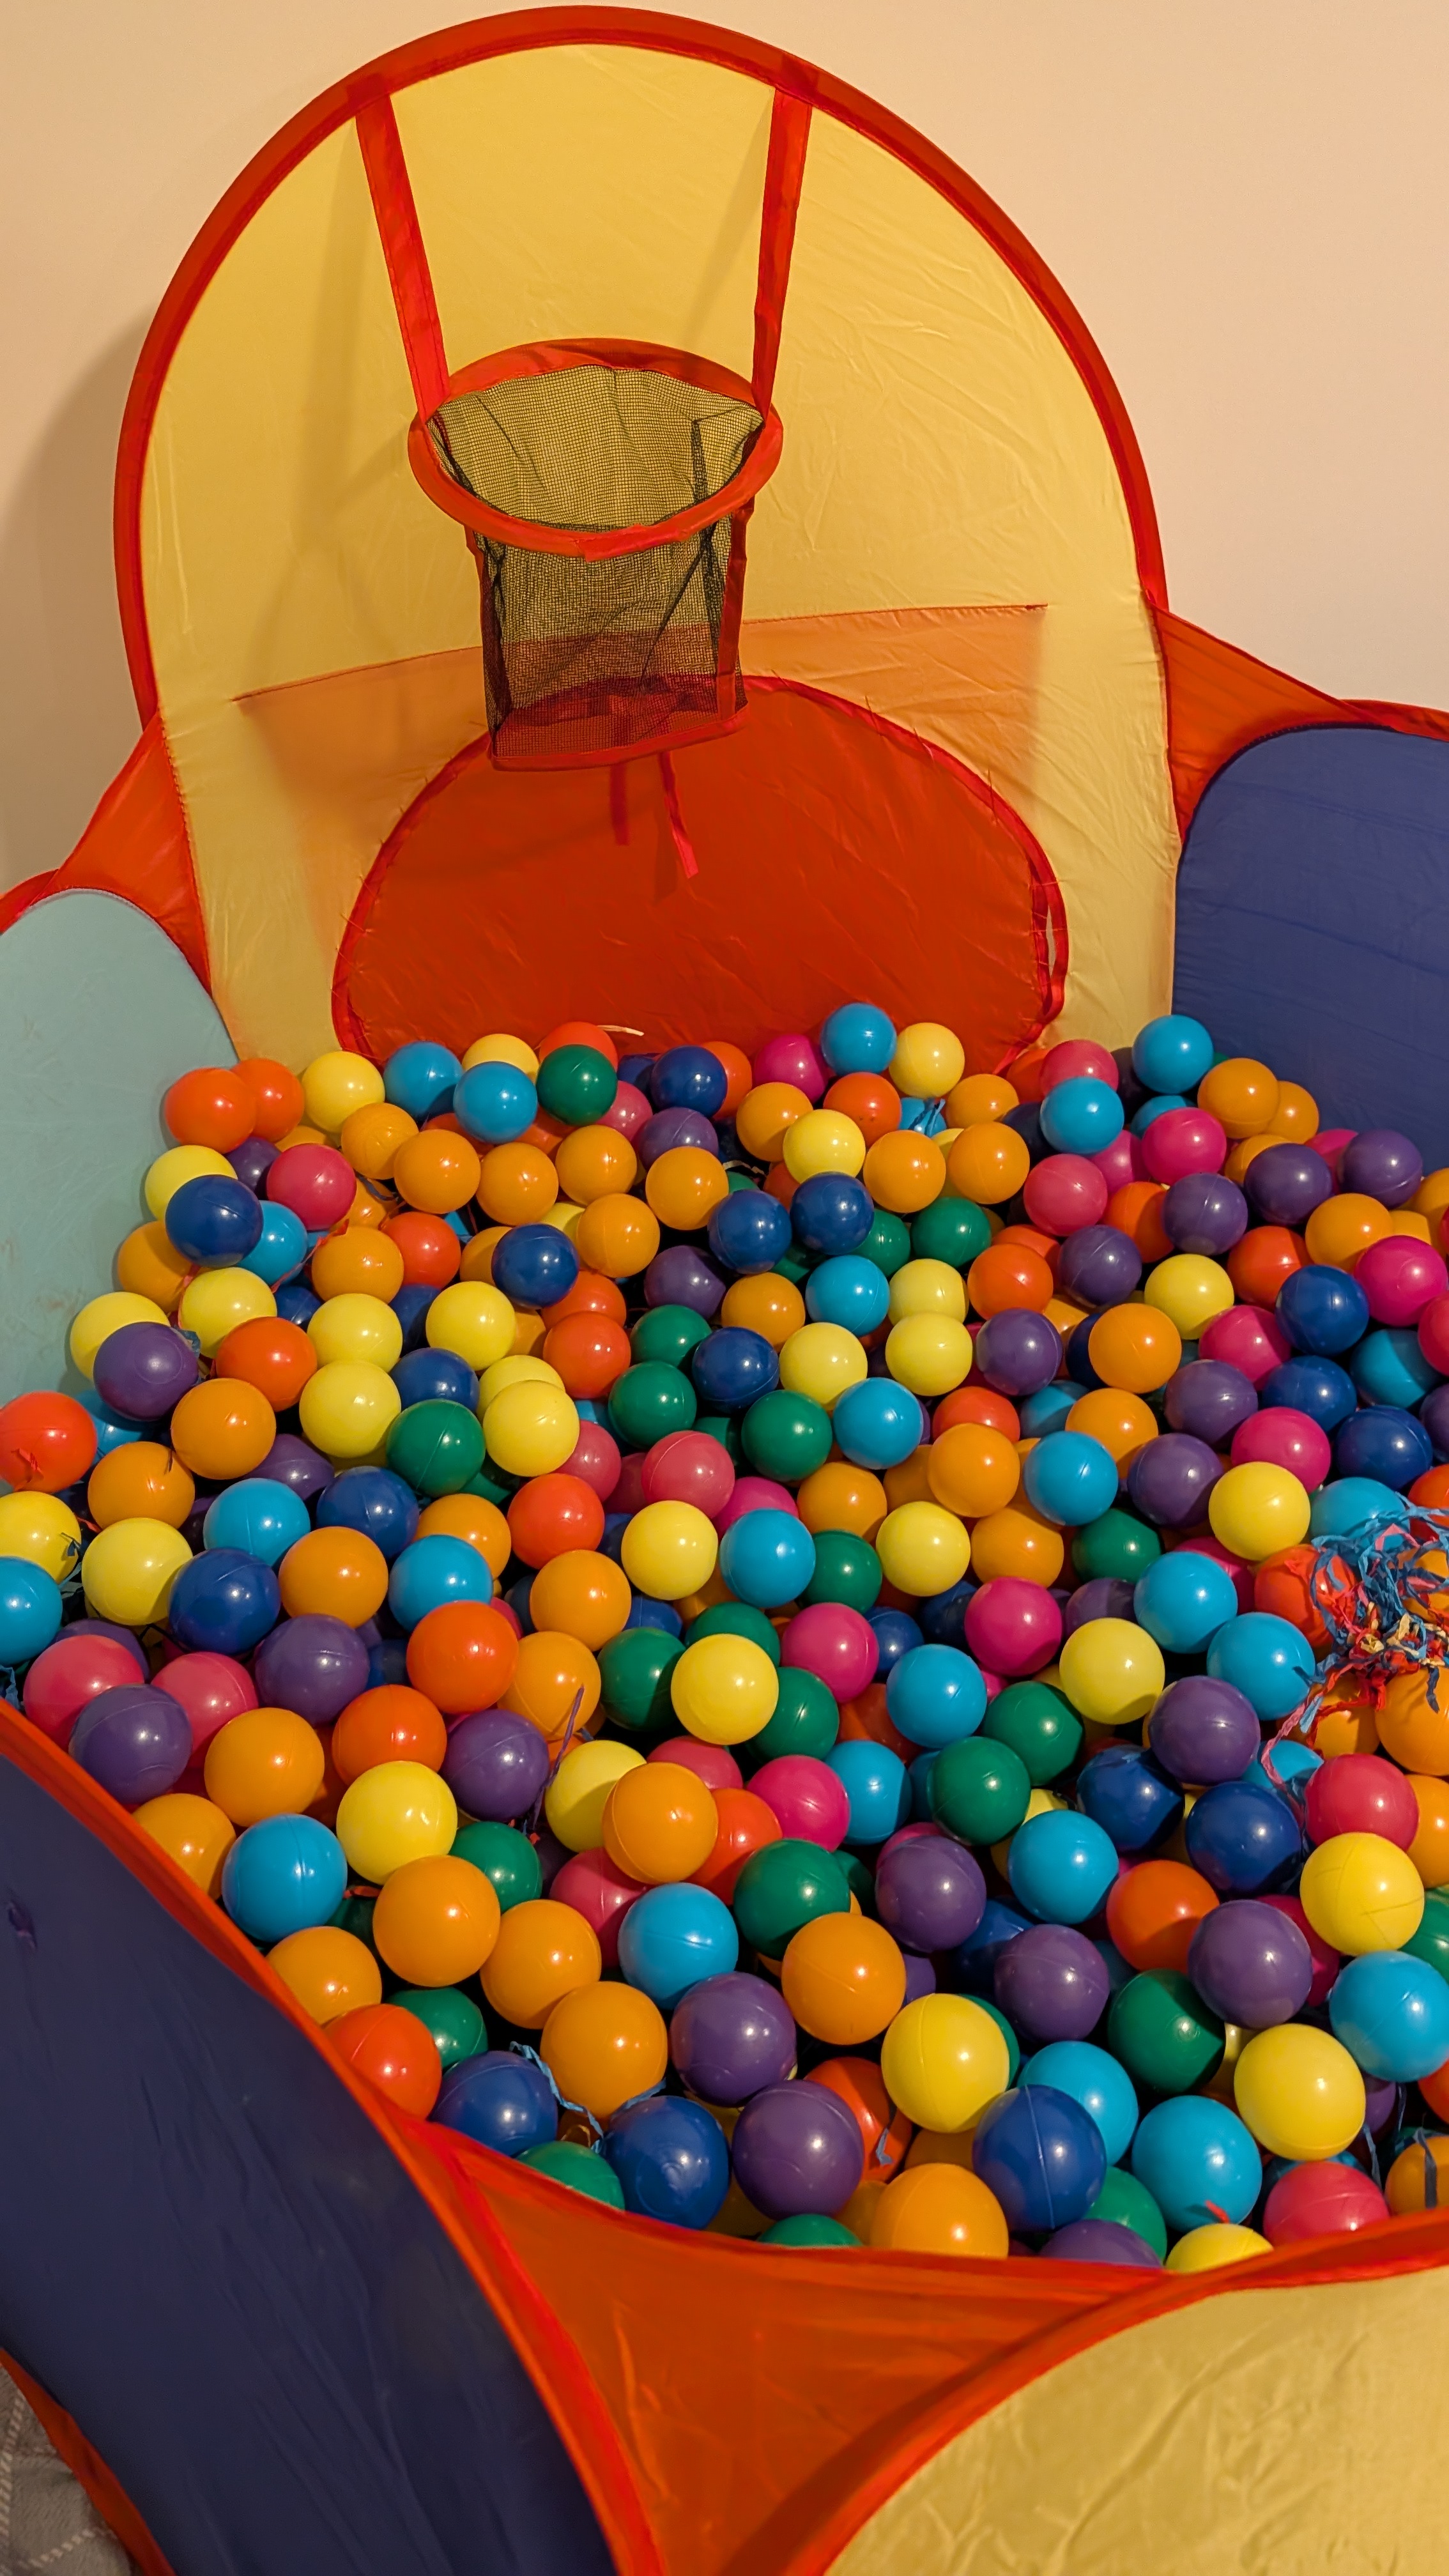 Kids of course liked it. Just one day, thinking about anything else we can do about it—kids also like to throw the balls around—then I was thinking, why not make a ball launcher that adds more fun to it?
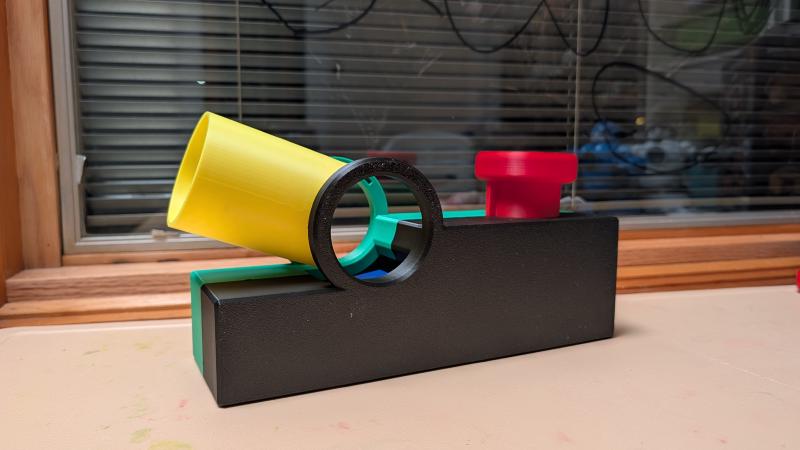
Hence, the Ball Launcher 3000—it’s mainly for the kids to play.
Model Design/Modeling
This is part of my learning process in 3D printing and CAD modeling. This is a challenge in terms of the complexity of the CAD modeling, which includes many mechanical moving parts.
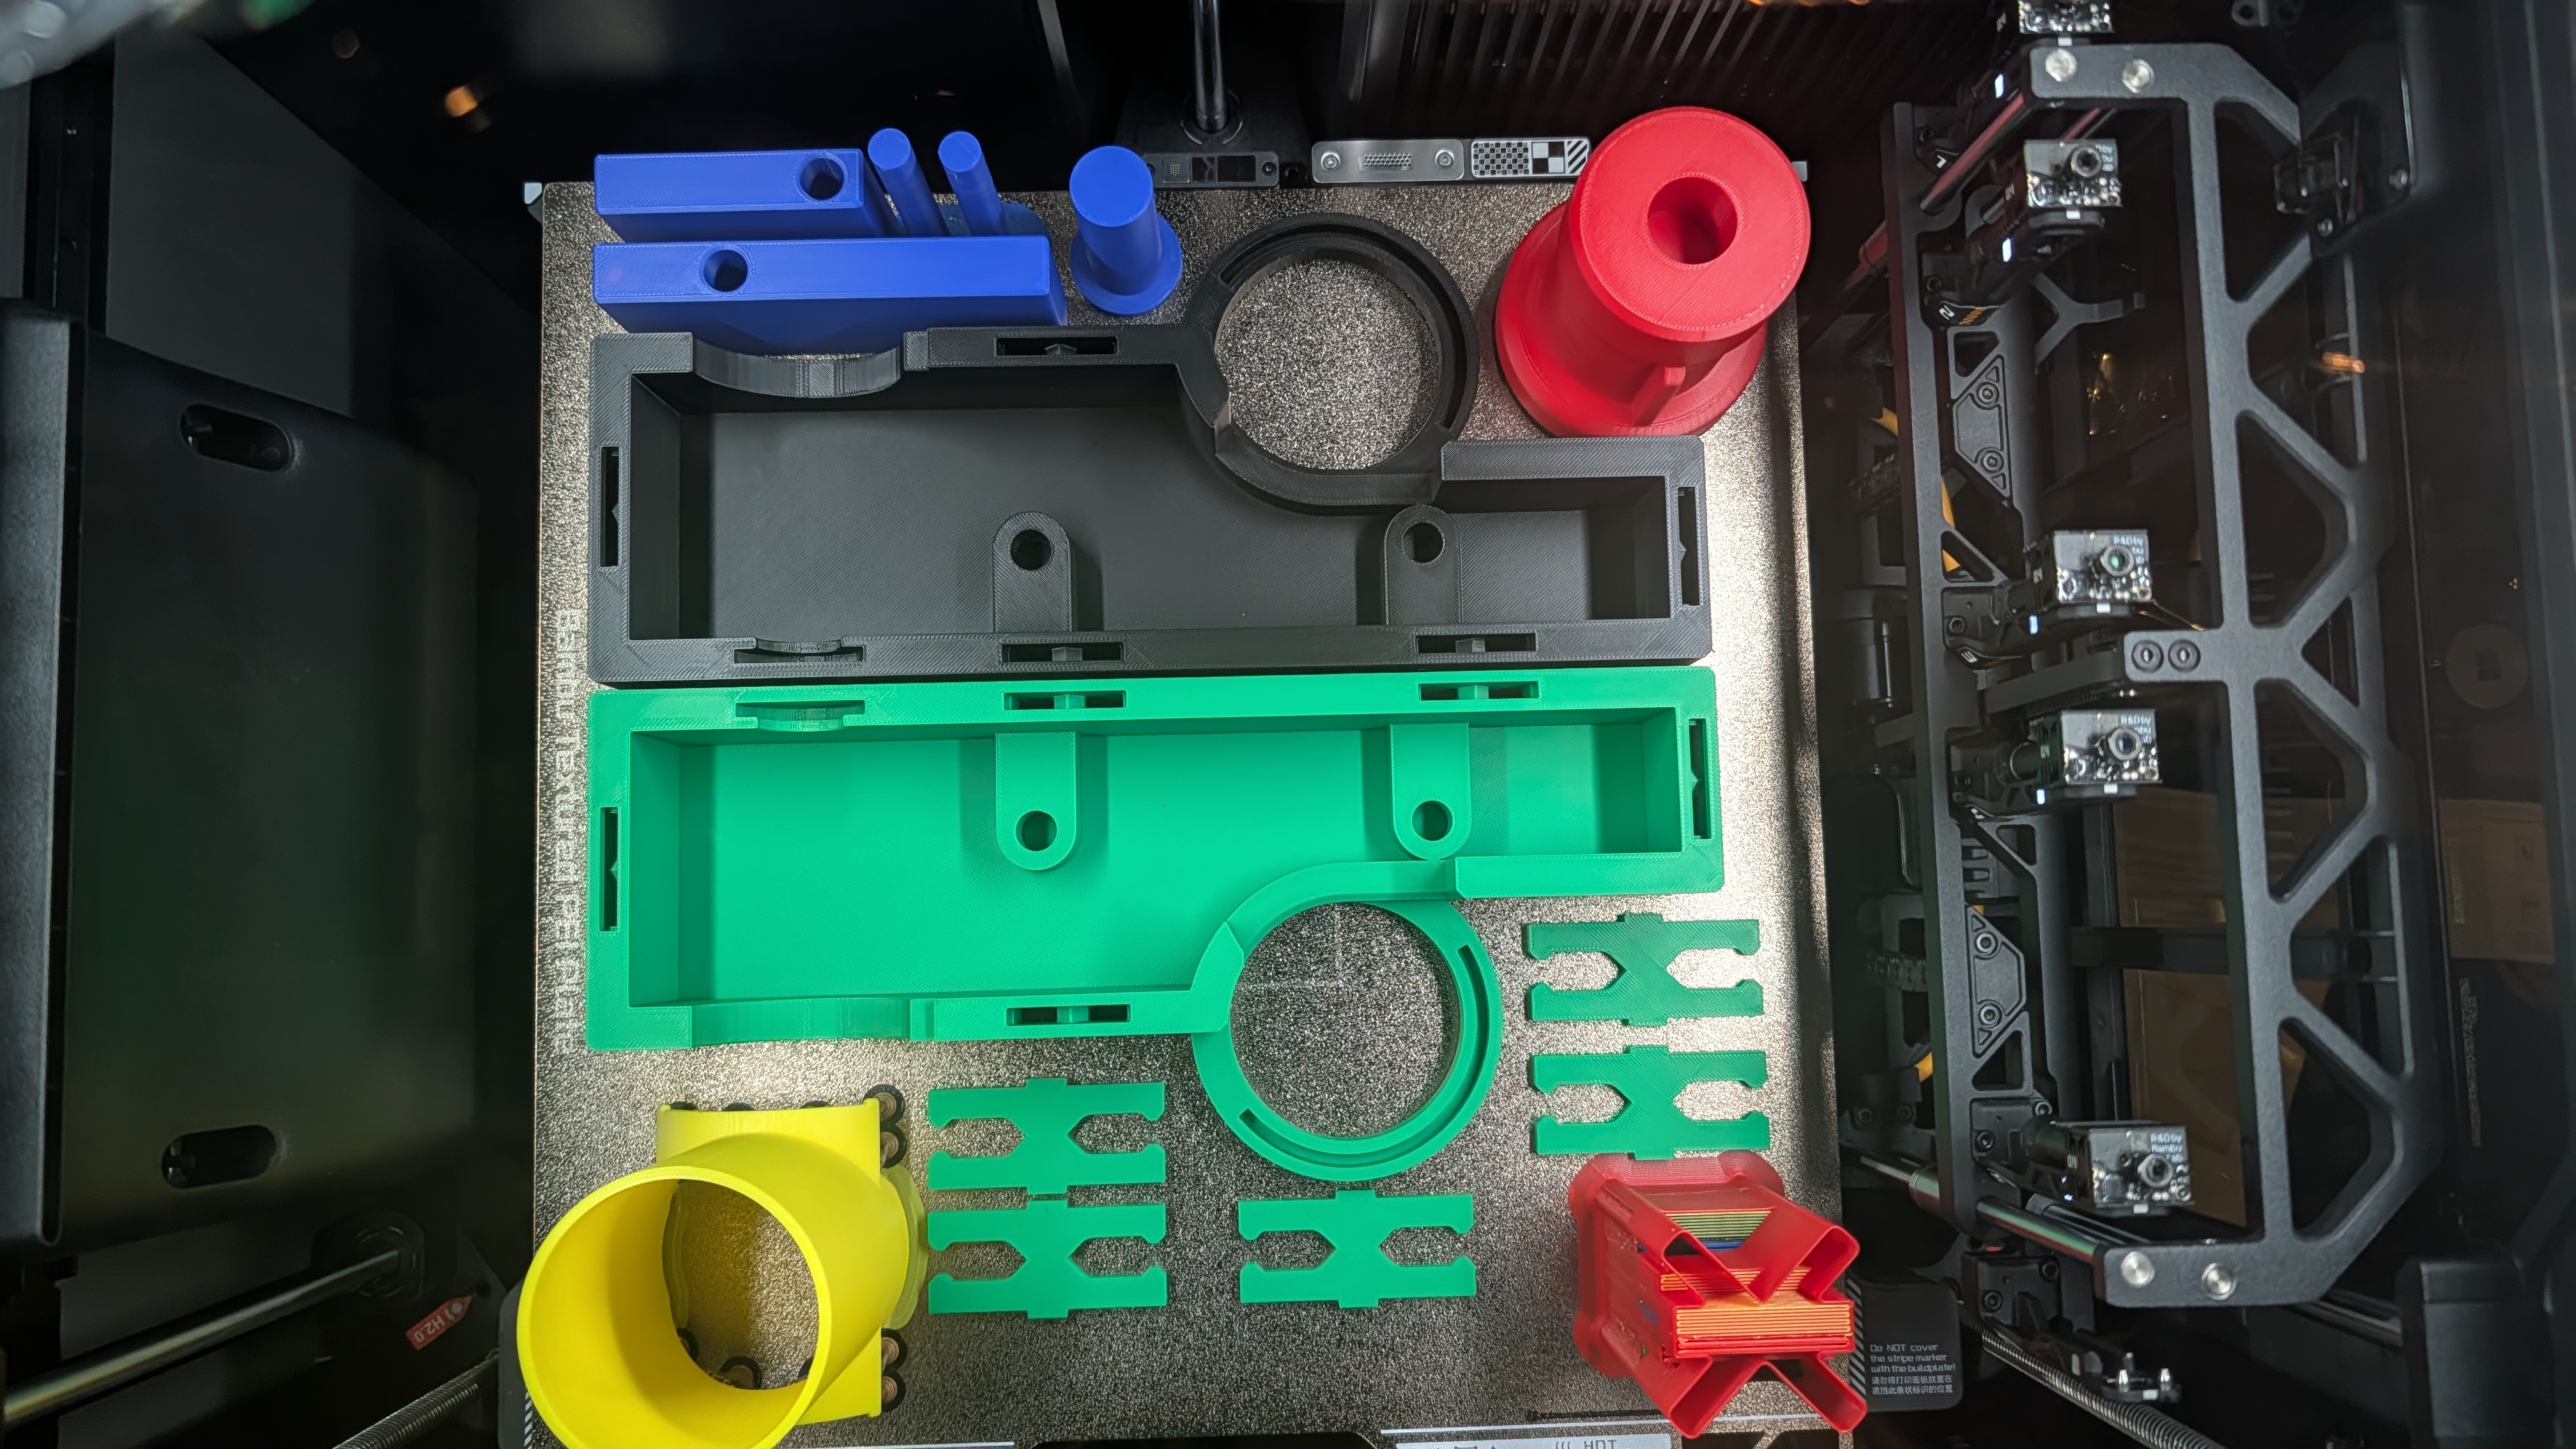
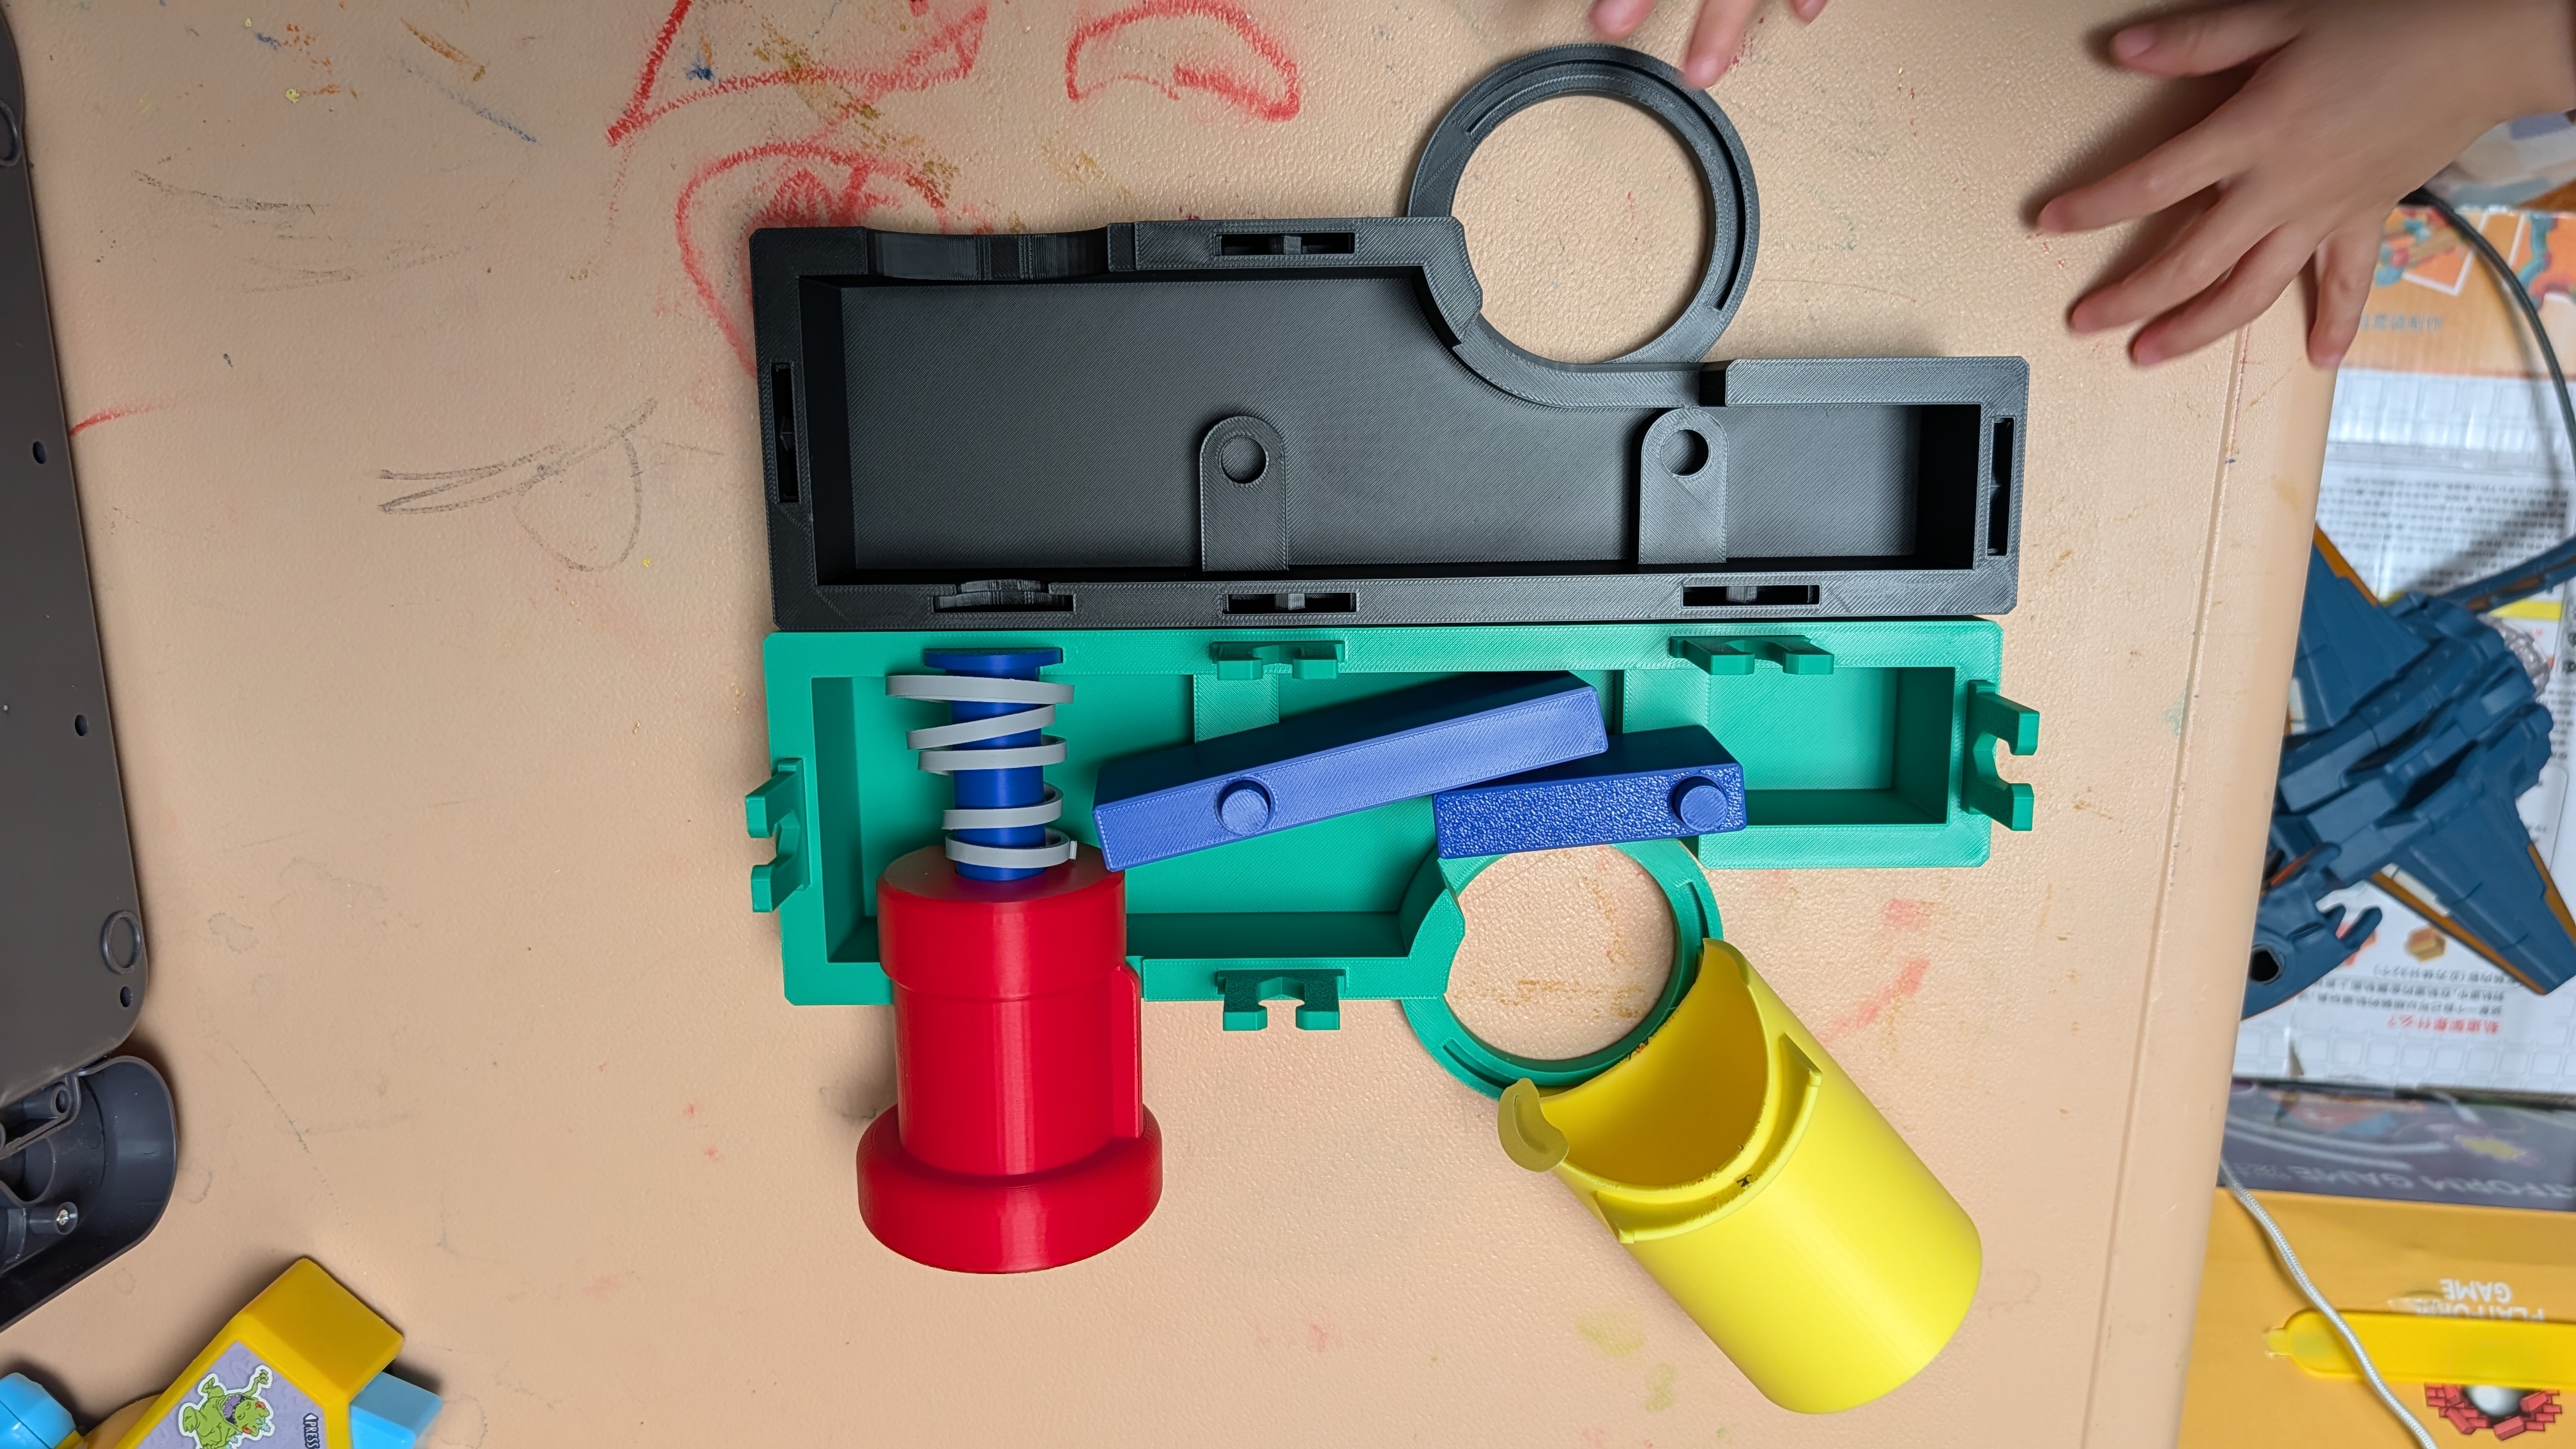
Launching Mechanism
It consists of three moving parts: the button and two levers. Why this launching mechanism? It was inspired by one of my kids’ toys. There are of course many ways to “launch” balls—I guess it’s just a matter of choice.
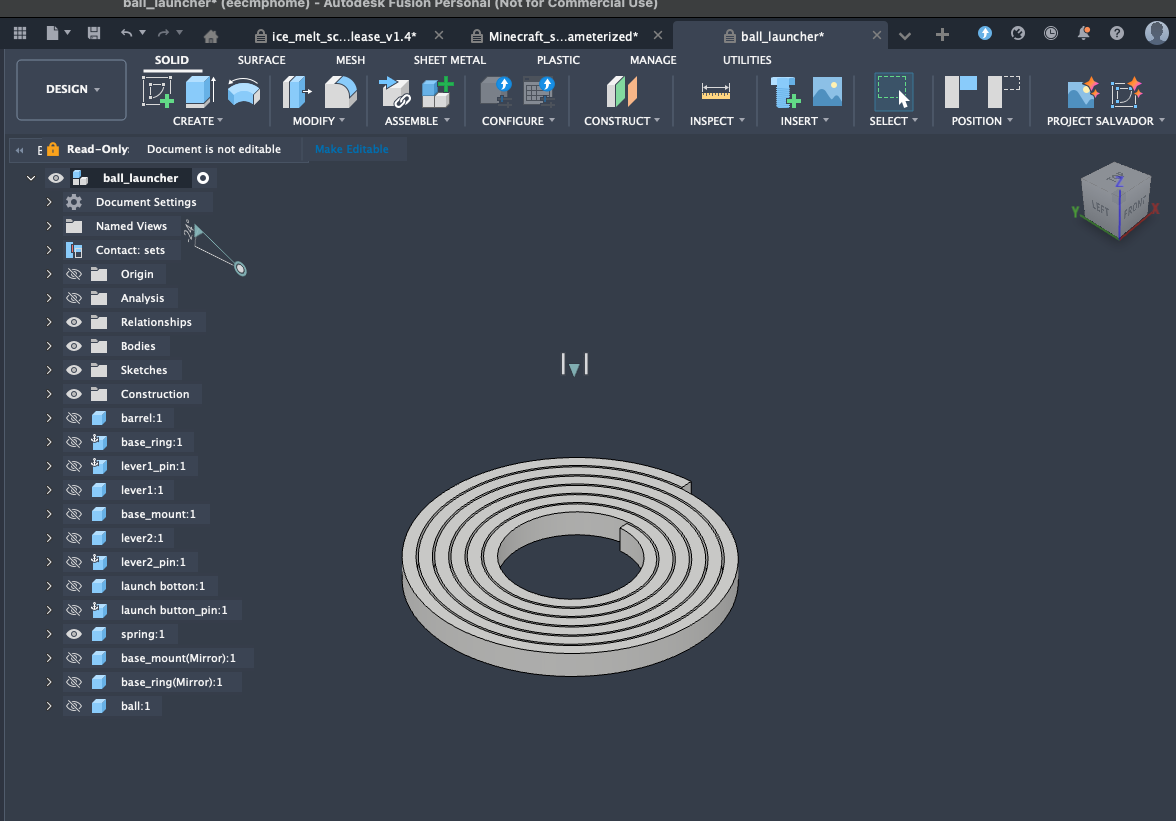
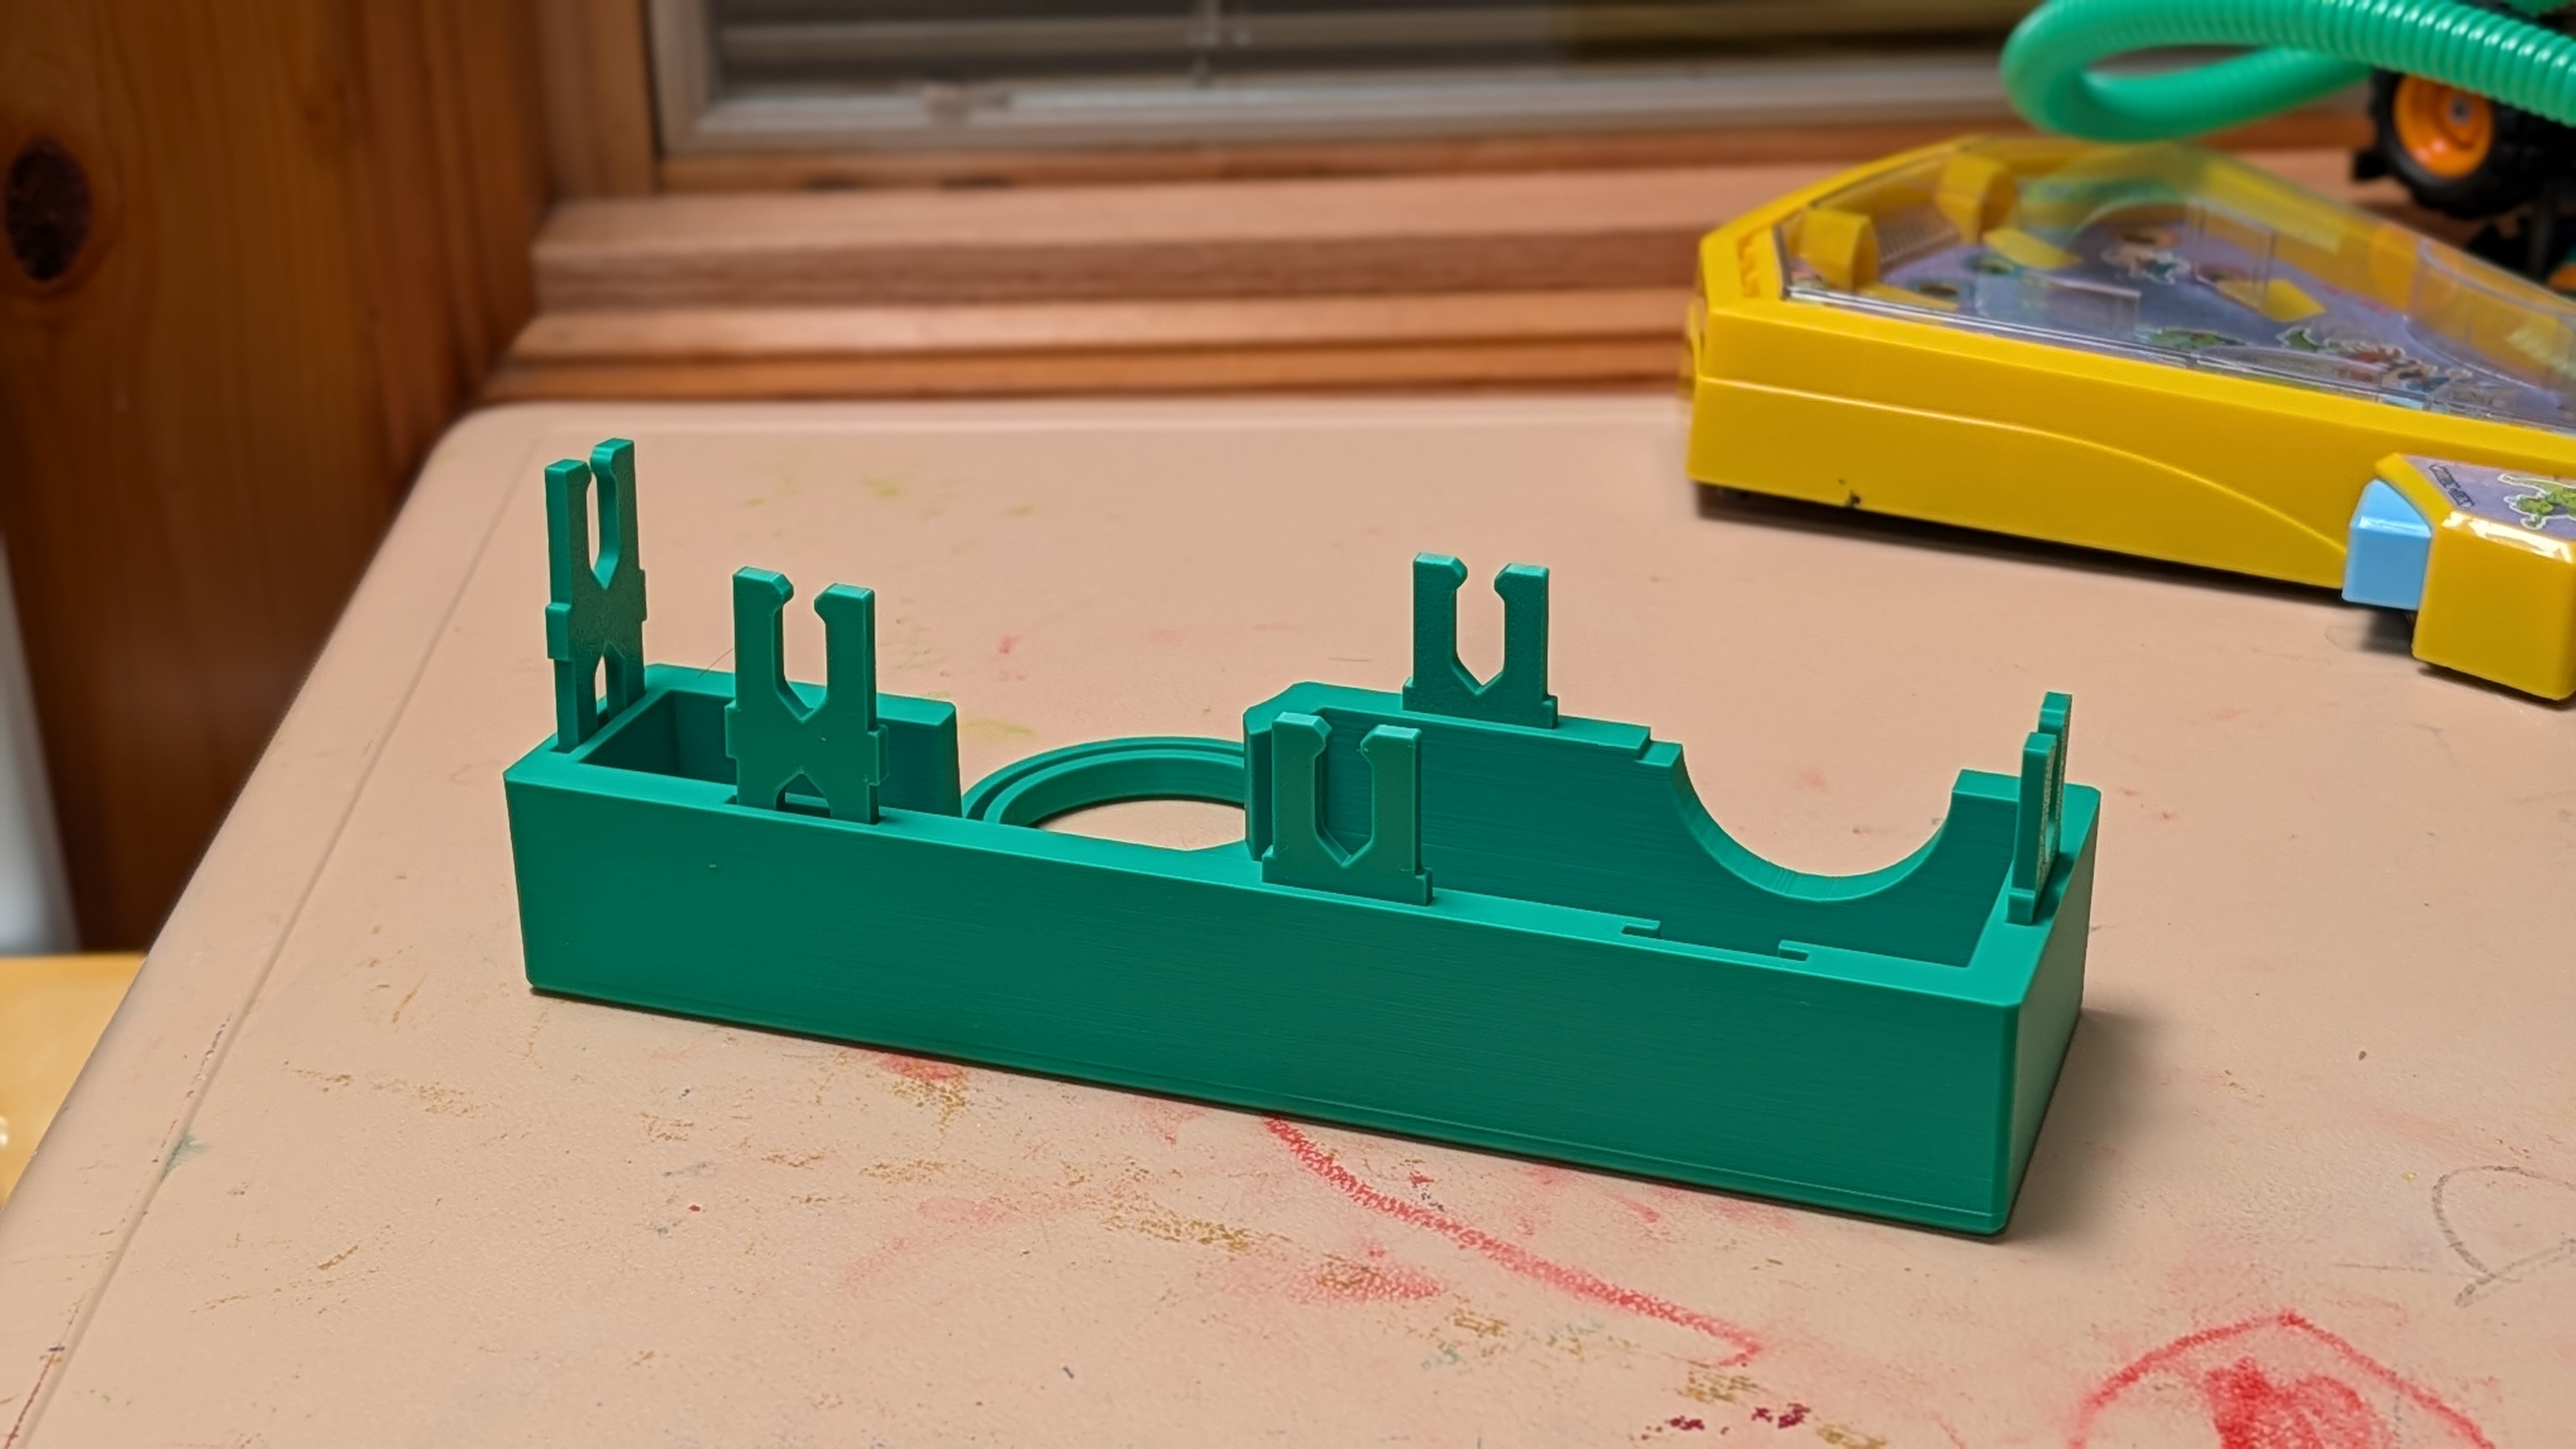
Another important launch part is the barrel, which can rotate to set the launch angle.
Last but not least, there should be a spring mounted under the launch button. For this, I simply printed a torsion spring and used hot water to “reshape” it. It’s not an elegant way, but it works.
The idea is that by pressing the button, it triggers a “chain-reaction” to the last lever, where the ball is, and it will launch the ball.
By the way, the ball is 50mm in diameter.
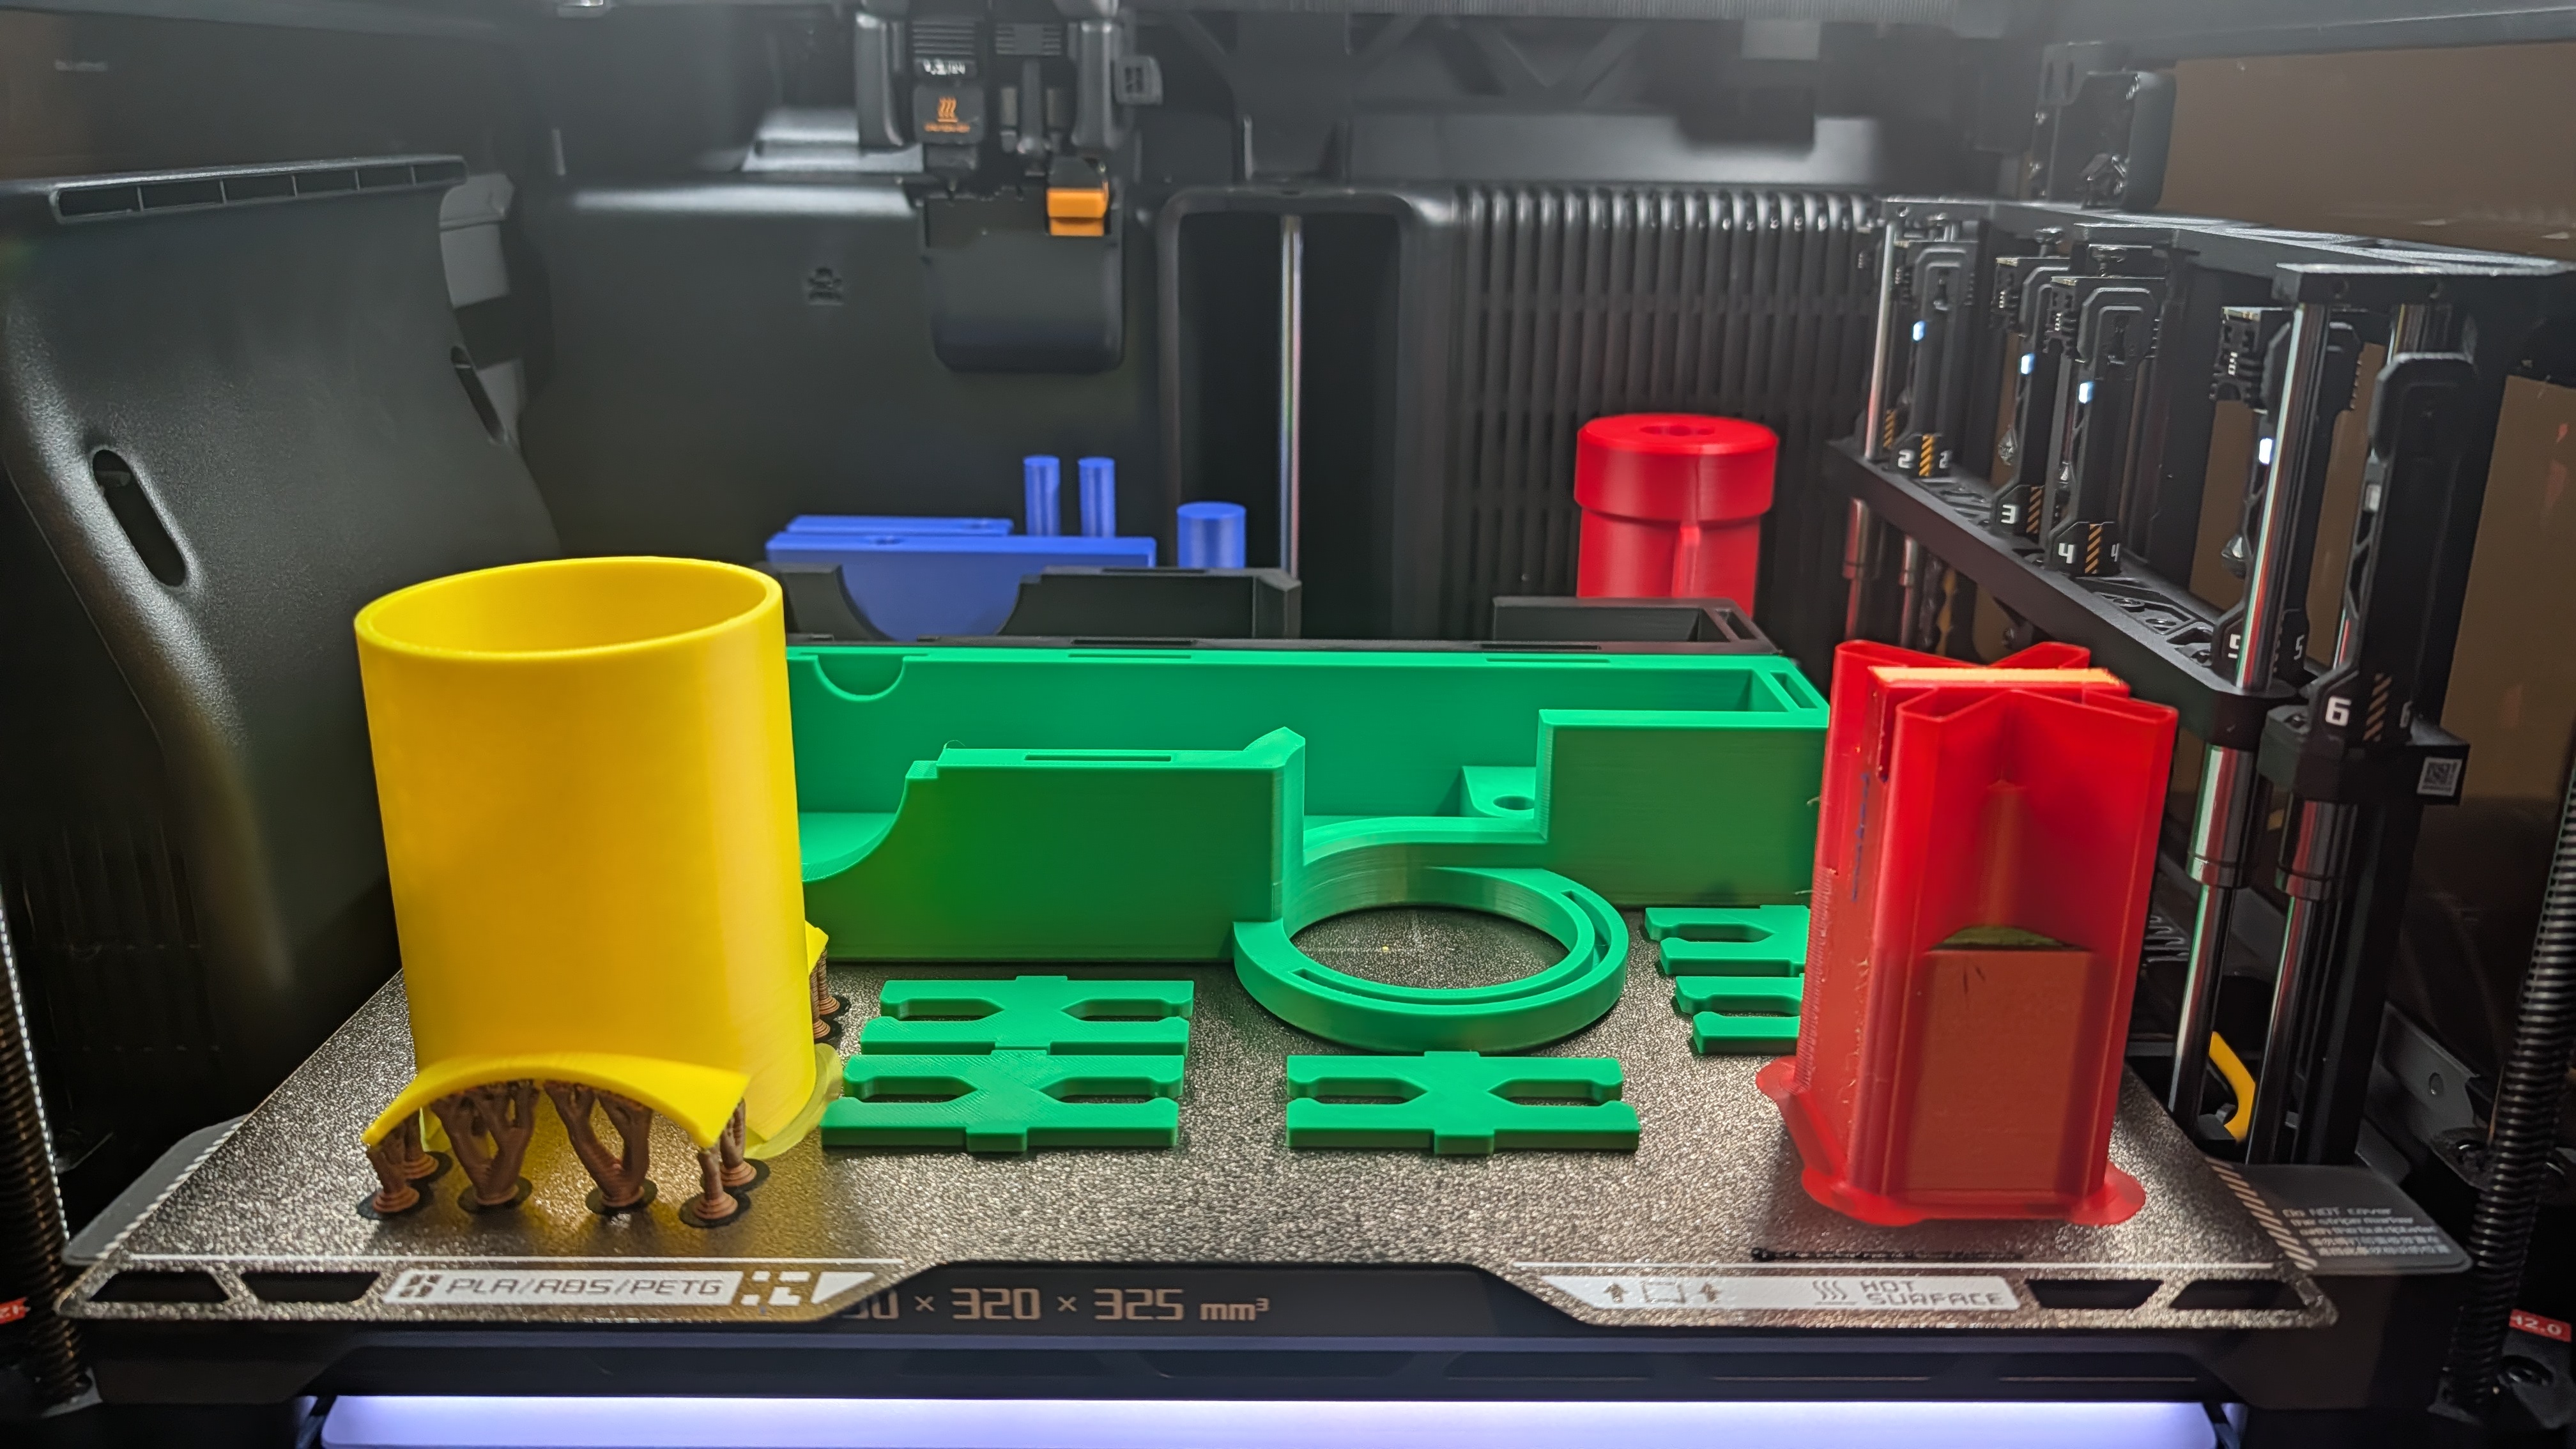
Color
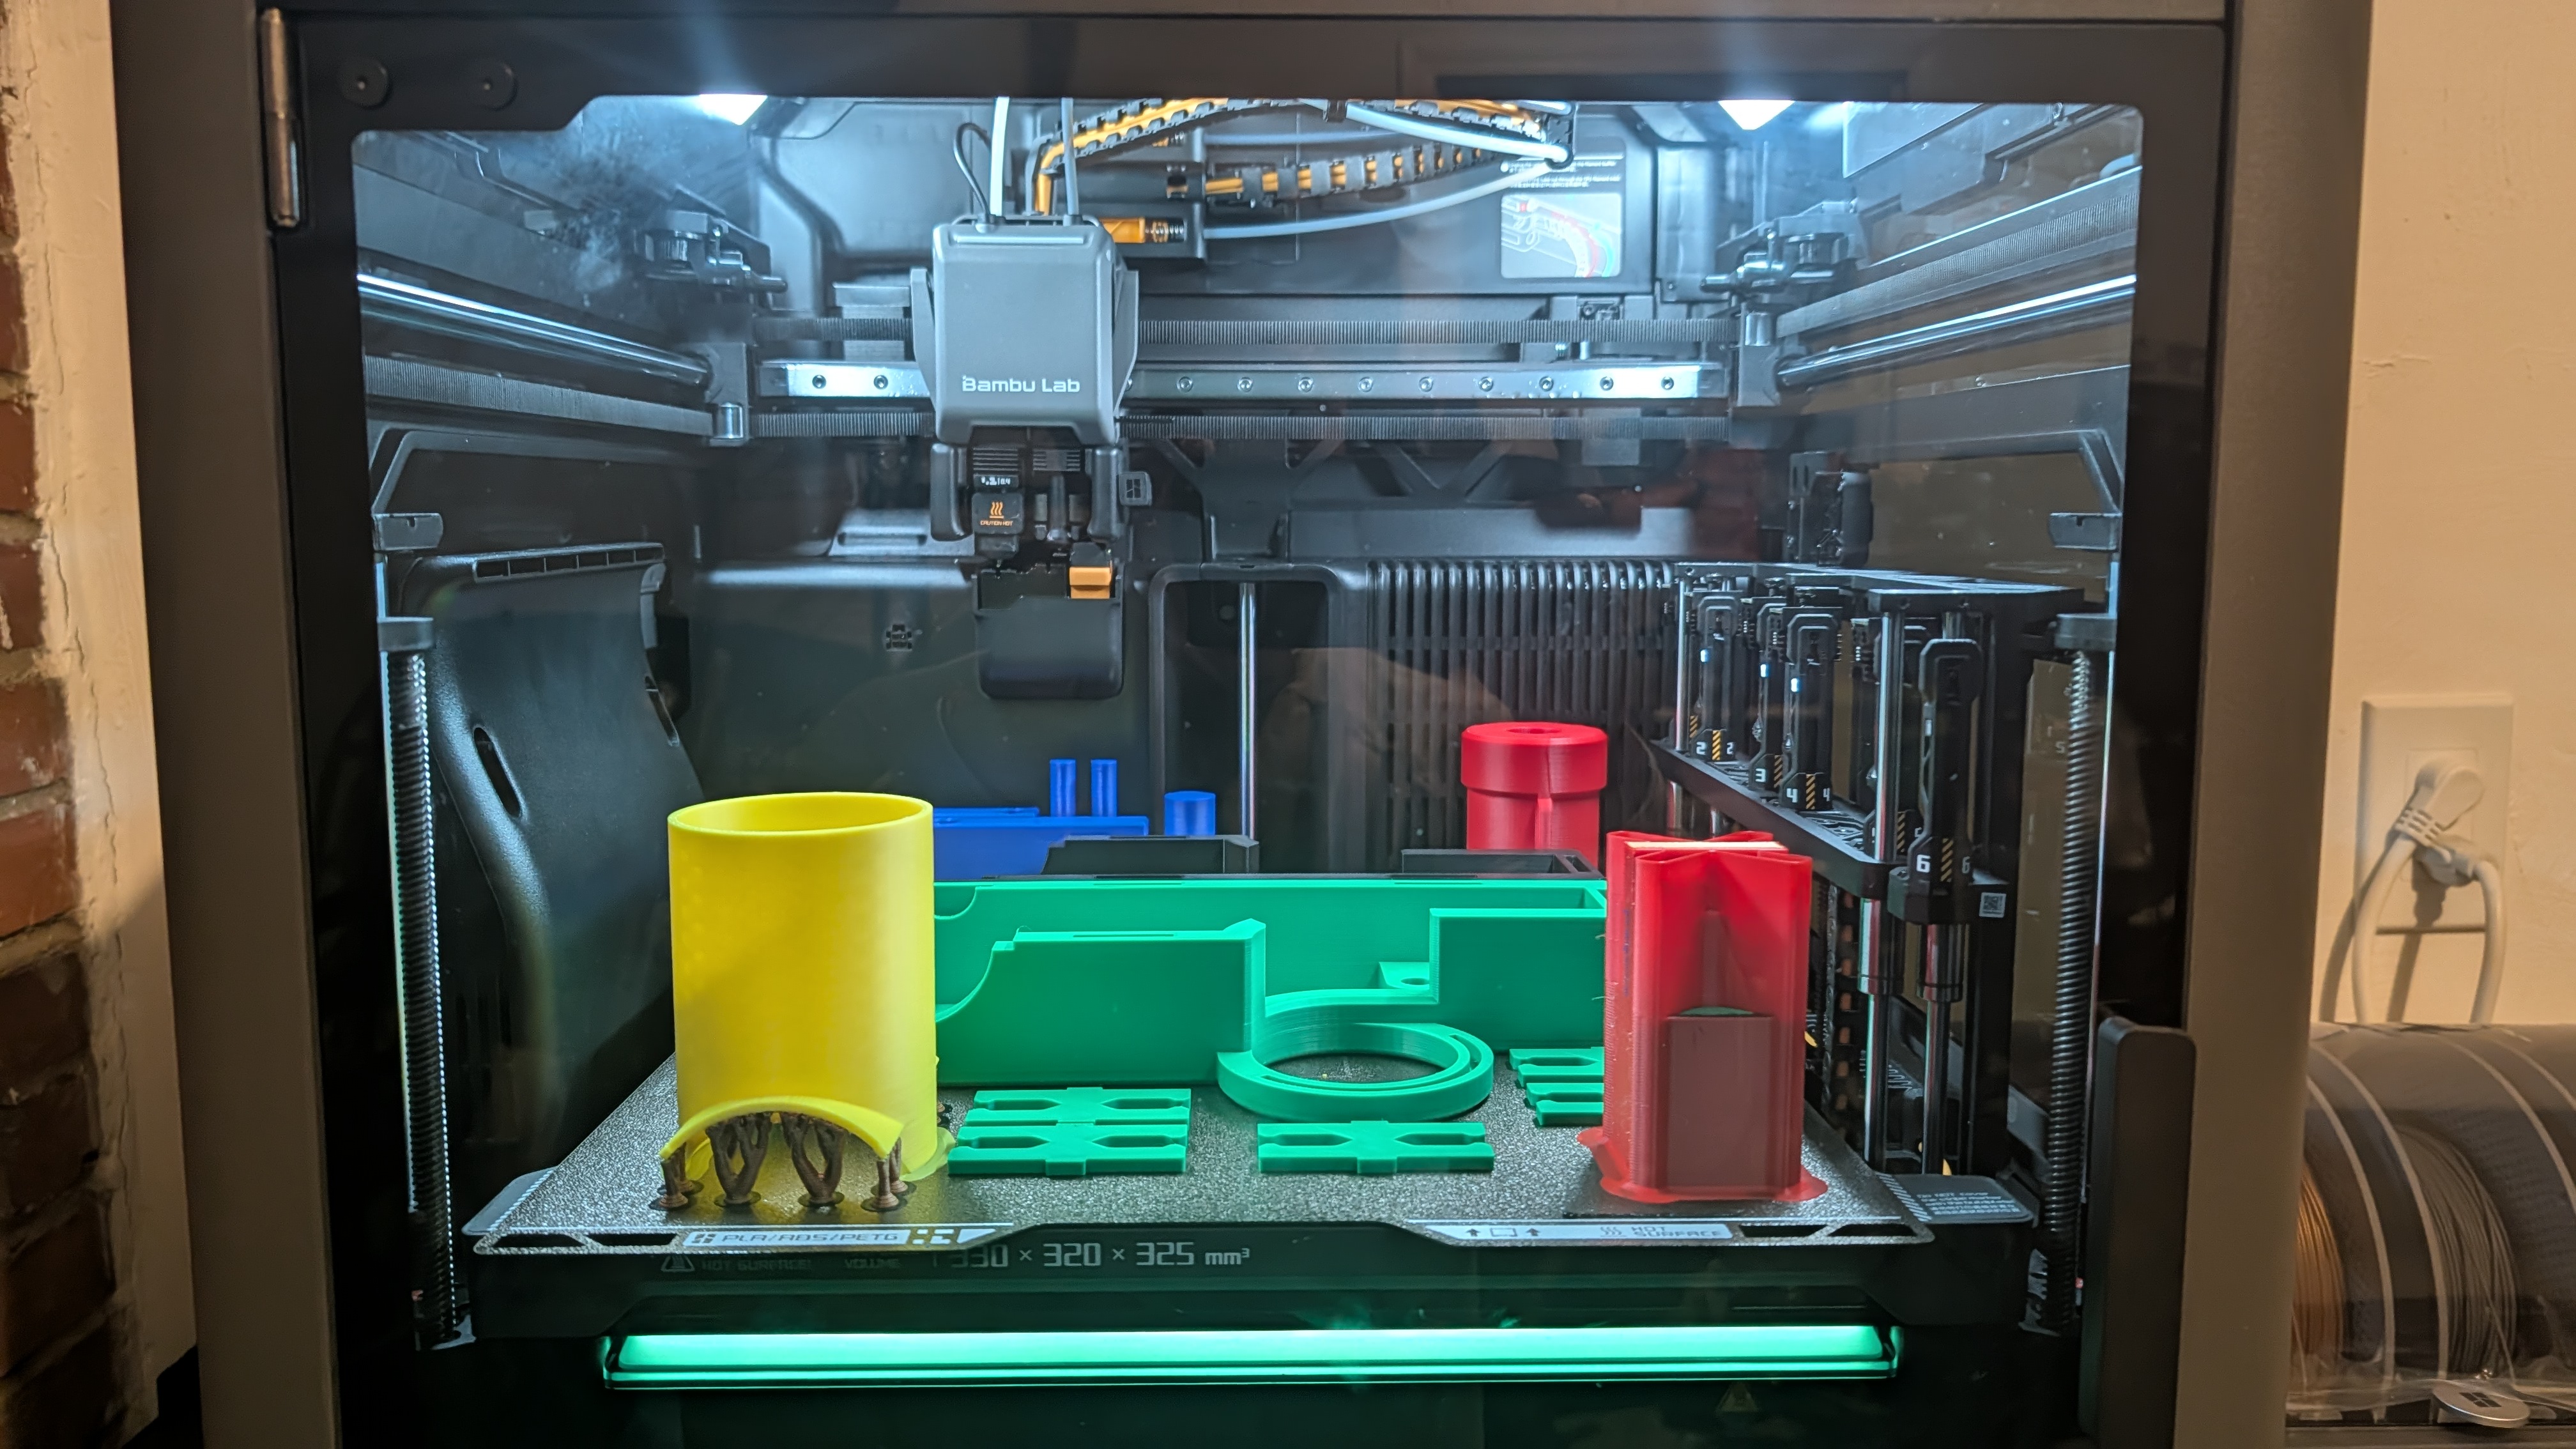
My kids picked the colors—yes, I think it’s strange, but they seem to like it. Plus, it’s a good way to test my H2C multicolor printing.
Appearance
I just built around the launching mechanism with a box-like appearance. I know it’s boxy and boring, not really eye-catching, but again, they seem to like it.
Joining Two Parts
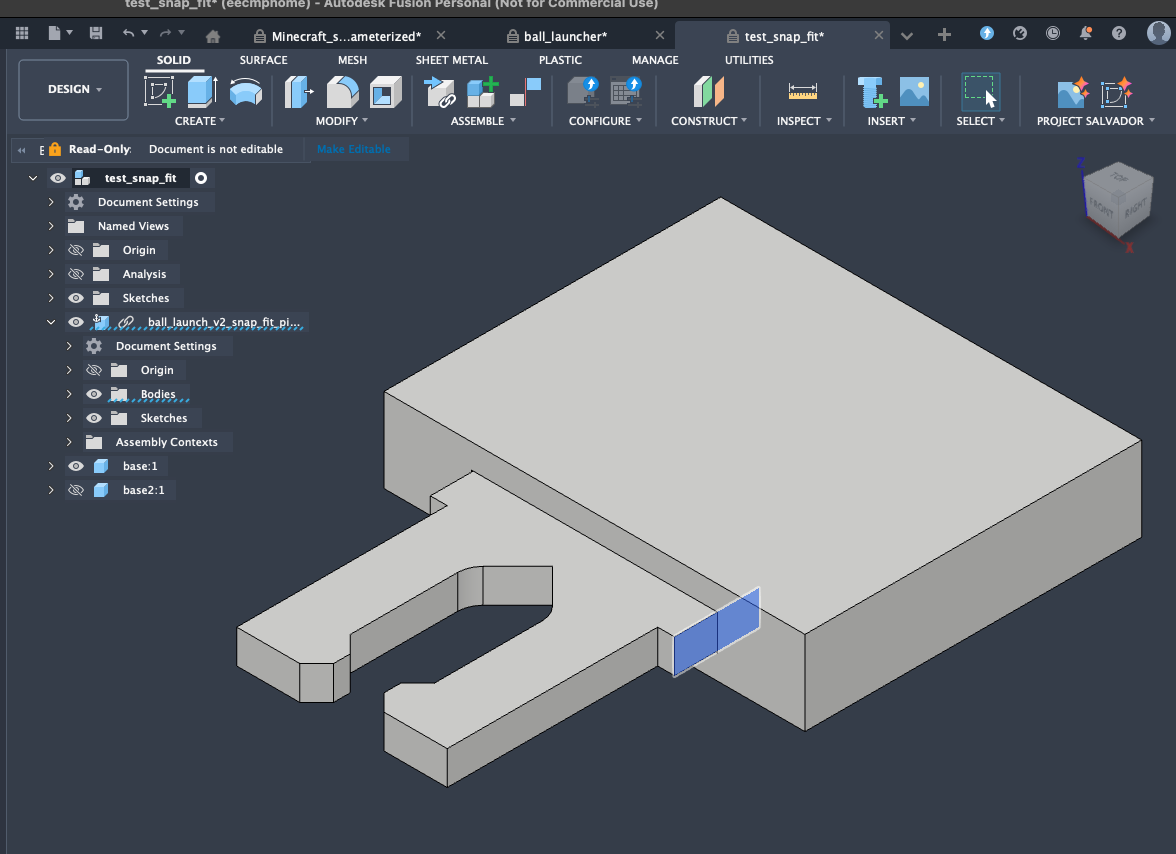
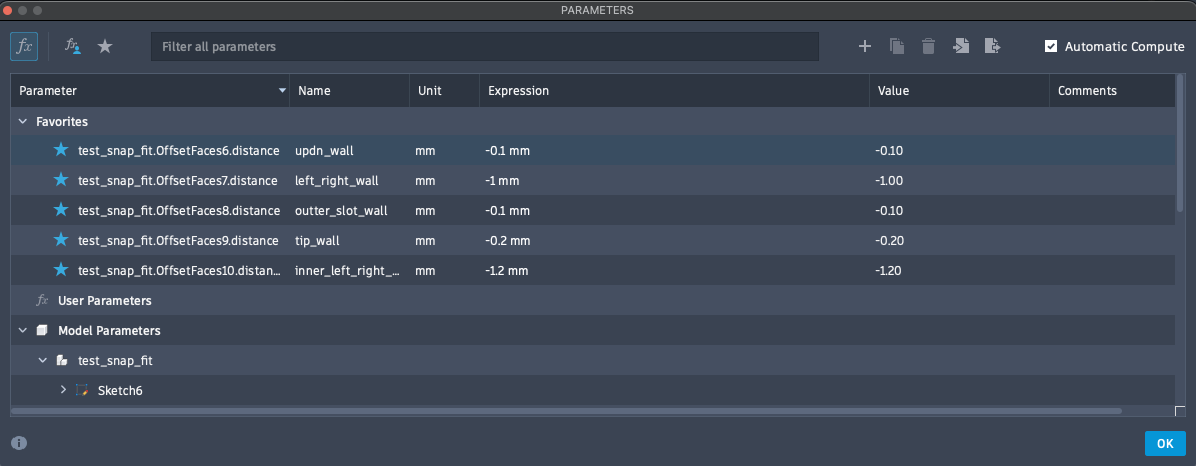
As you can see from the design, it consists of two halves. How to hold two parts together is a challenge for me. Of course, there are many ways to do so. For this model, I constrained myself to use a snap-fit approach.
After some YouTube learning and iteration, here is my design:
Initially, the snap-fit parts didn’t have the extrude feature on the side, so the two parts could wobble side-by-side or up-and-down. By adding the side extruded feature with a tight clearance of 0.1mm, it makes the two parts hold up nicely and tight.
Printing Notes
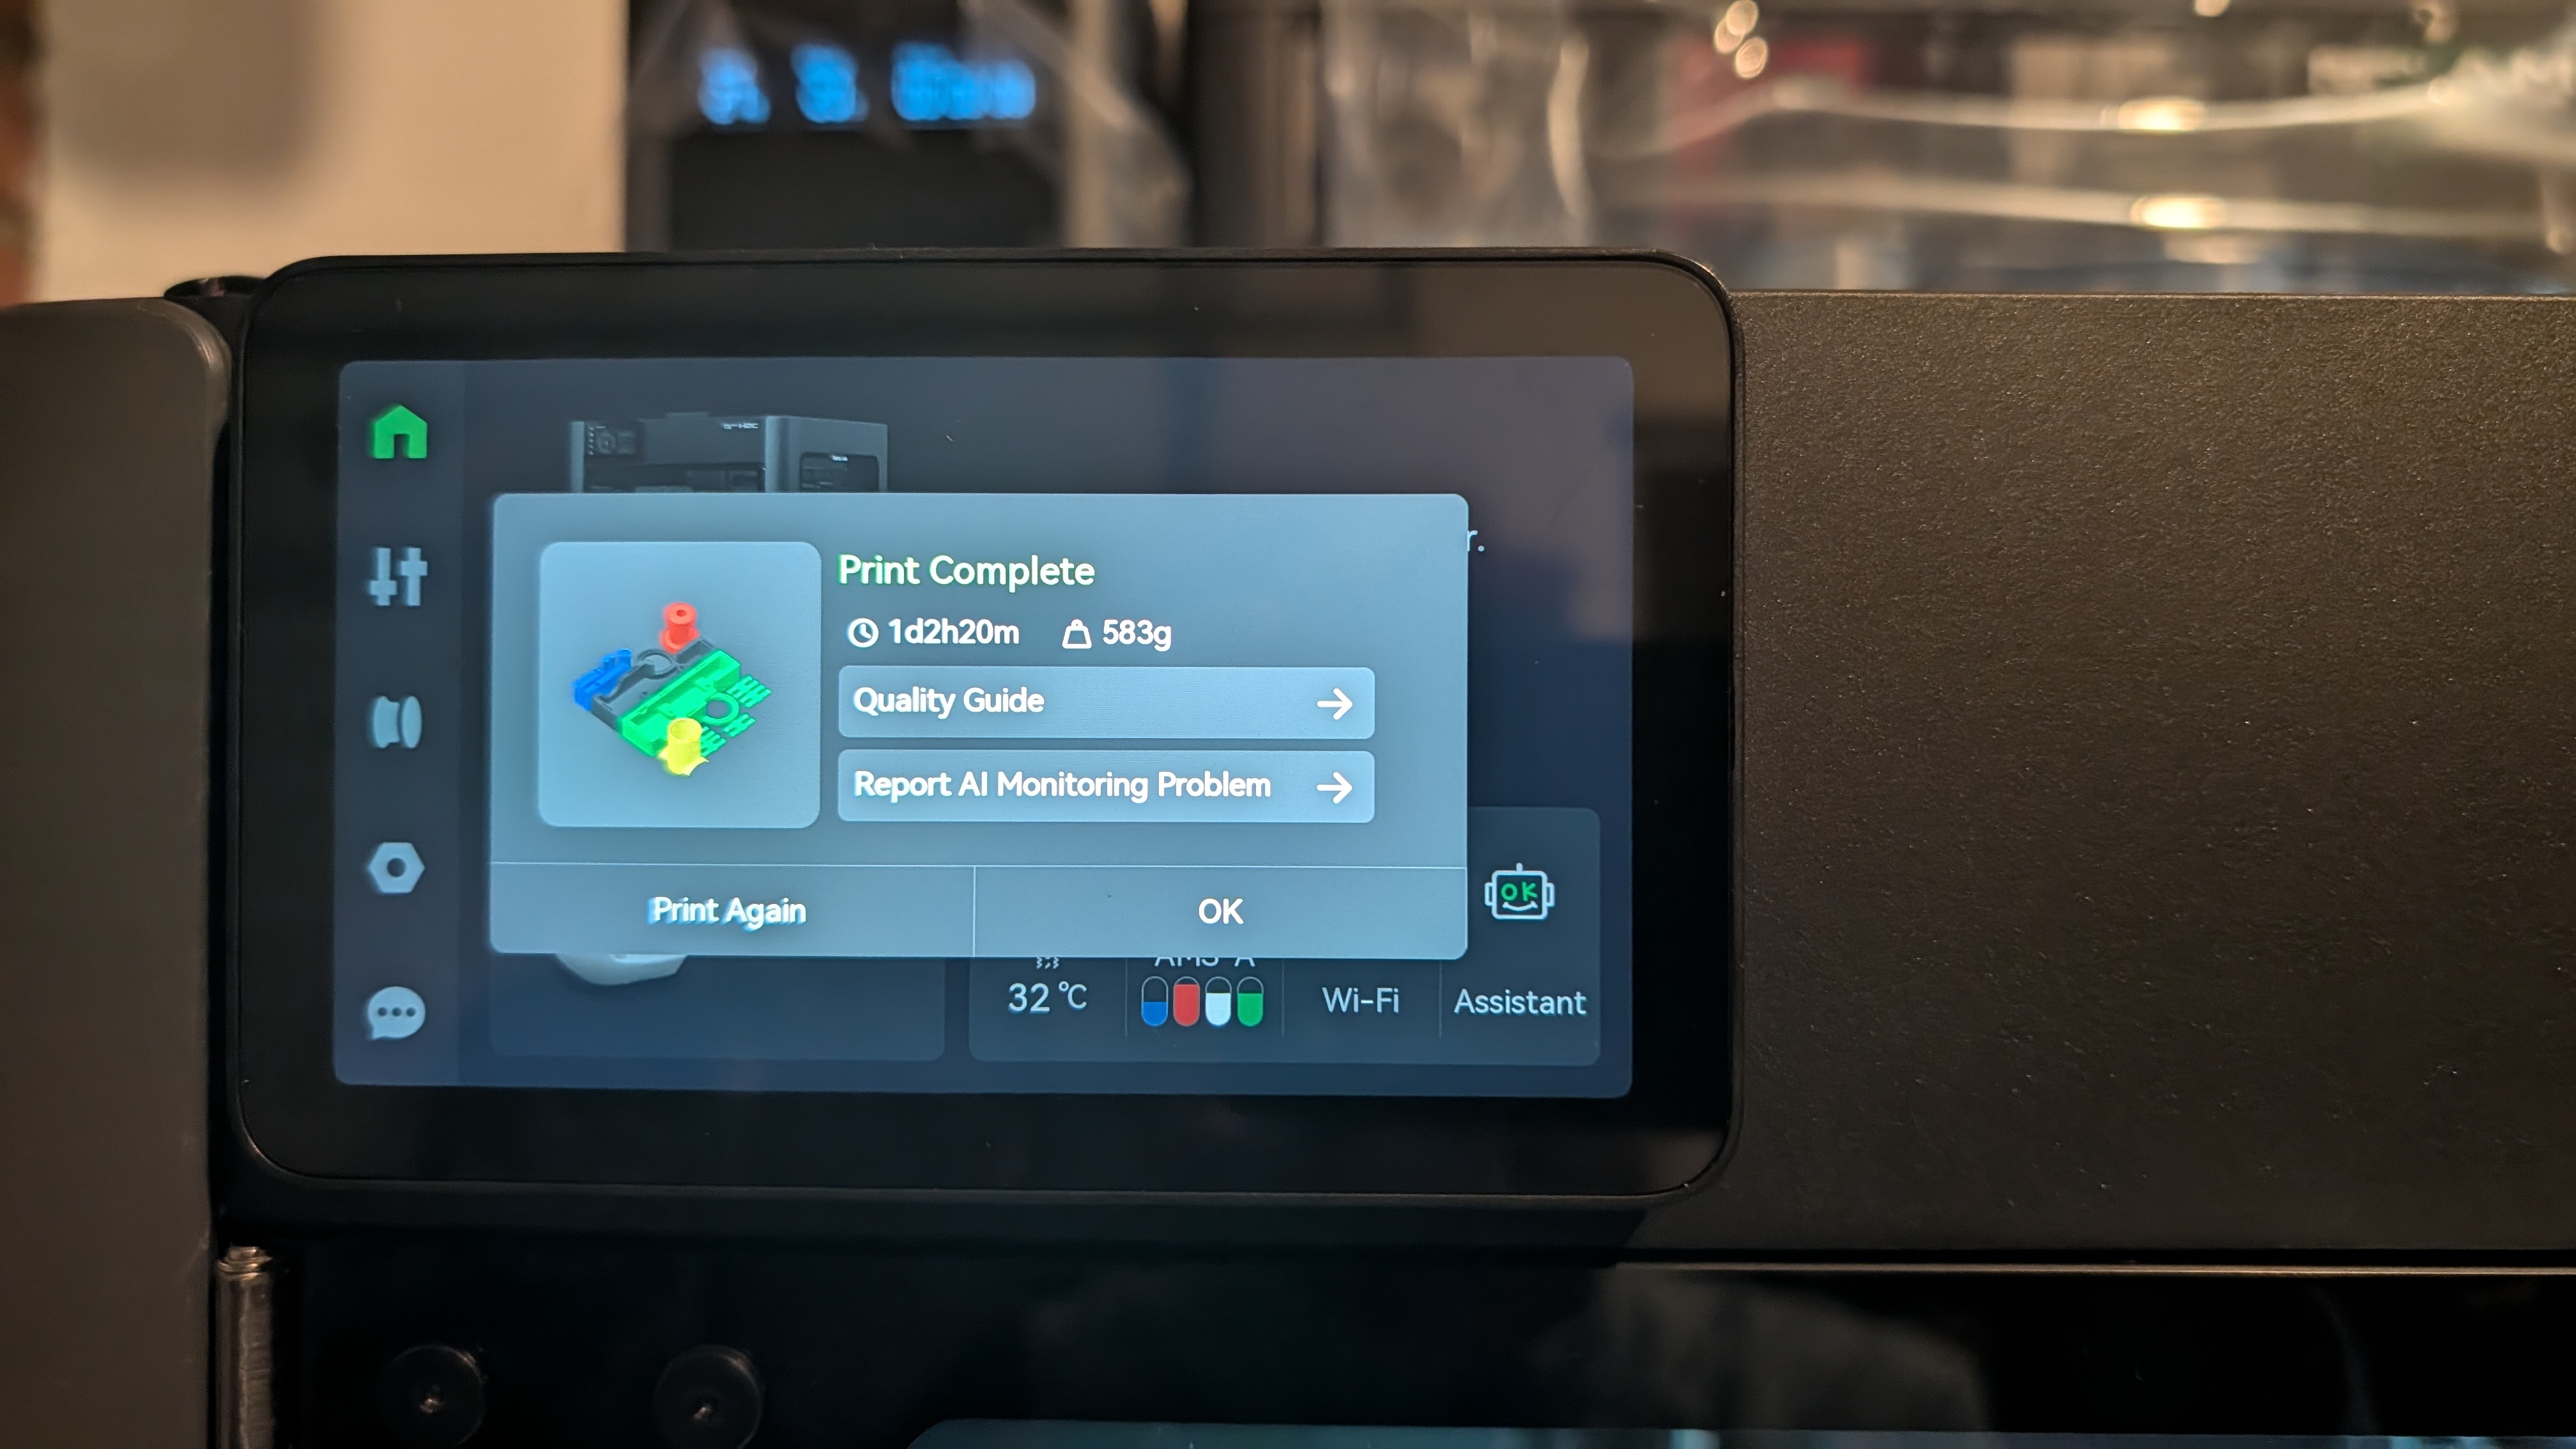
This is not an optimized way to arrange different parts with different colors together, but I just want to test out the capability of the H2C multicolor print. Also, this is an over 24-hour print—again, just to check out the H2C’s performance with such a long print.
Model Usage/Resources
Launch balls for fun.
Assemble
This should be fairly easy. First, put all the snap-fit pins into the holes.
Then put all the parts in the slot.
Finally, put the other half of the case together.
By the way, you can see the torsion spring is ugly because, as mentioned above, I used hot water to reshape it. Anyway, it works and it’s inside the case—no one can see it. And my kids care even less as long as it works.
Notes/Lessons Learnt
There are several things that need to be improved:
- The loading hole on the side is too big; need to somehow confine the ball.
- It’s tricky to align two lever pins together when closing the case. Two solutions, maybe?
- Cut holes on the side such that the lever pins are accessible by hand when closing the case.
- Make the mount slots bigger such that the pins can align easily.